
Videos > CS120B > Lab 3 Part 2
In theory, setting up the Roomark Laser Engraving Machine should be a straightforward process. The setup itself took about 10 minutes, but getting around the SC7A20 chipo which detects acceleration and tilt angle values.
For common questions regarding LaserGRBL setup, check out the LaserGRBL FAQ.
The power supply for this engraving machine must be at least 12V 5A.

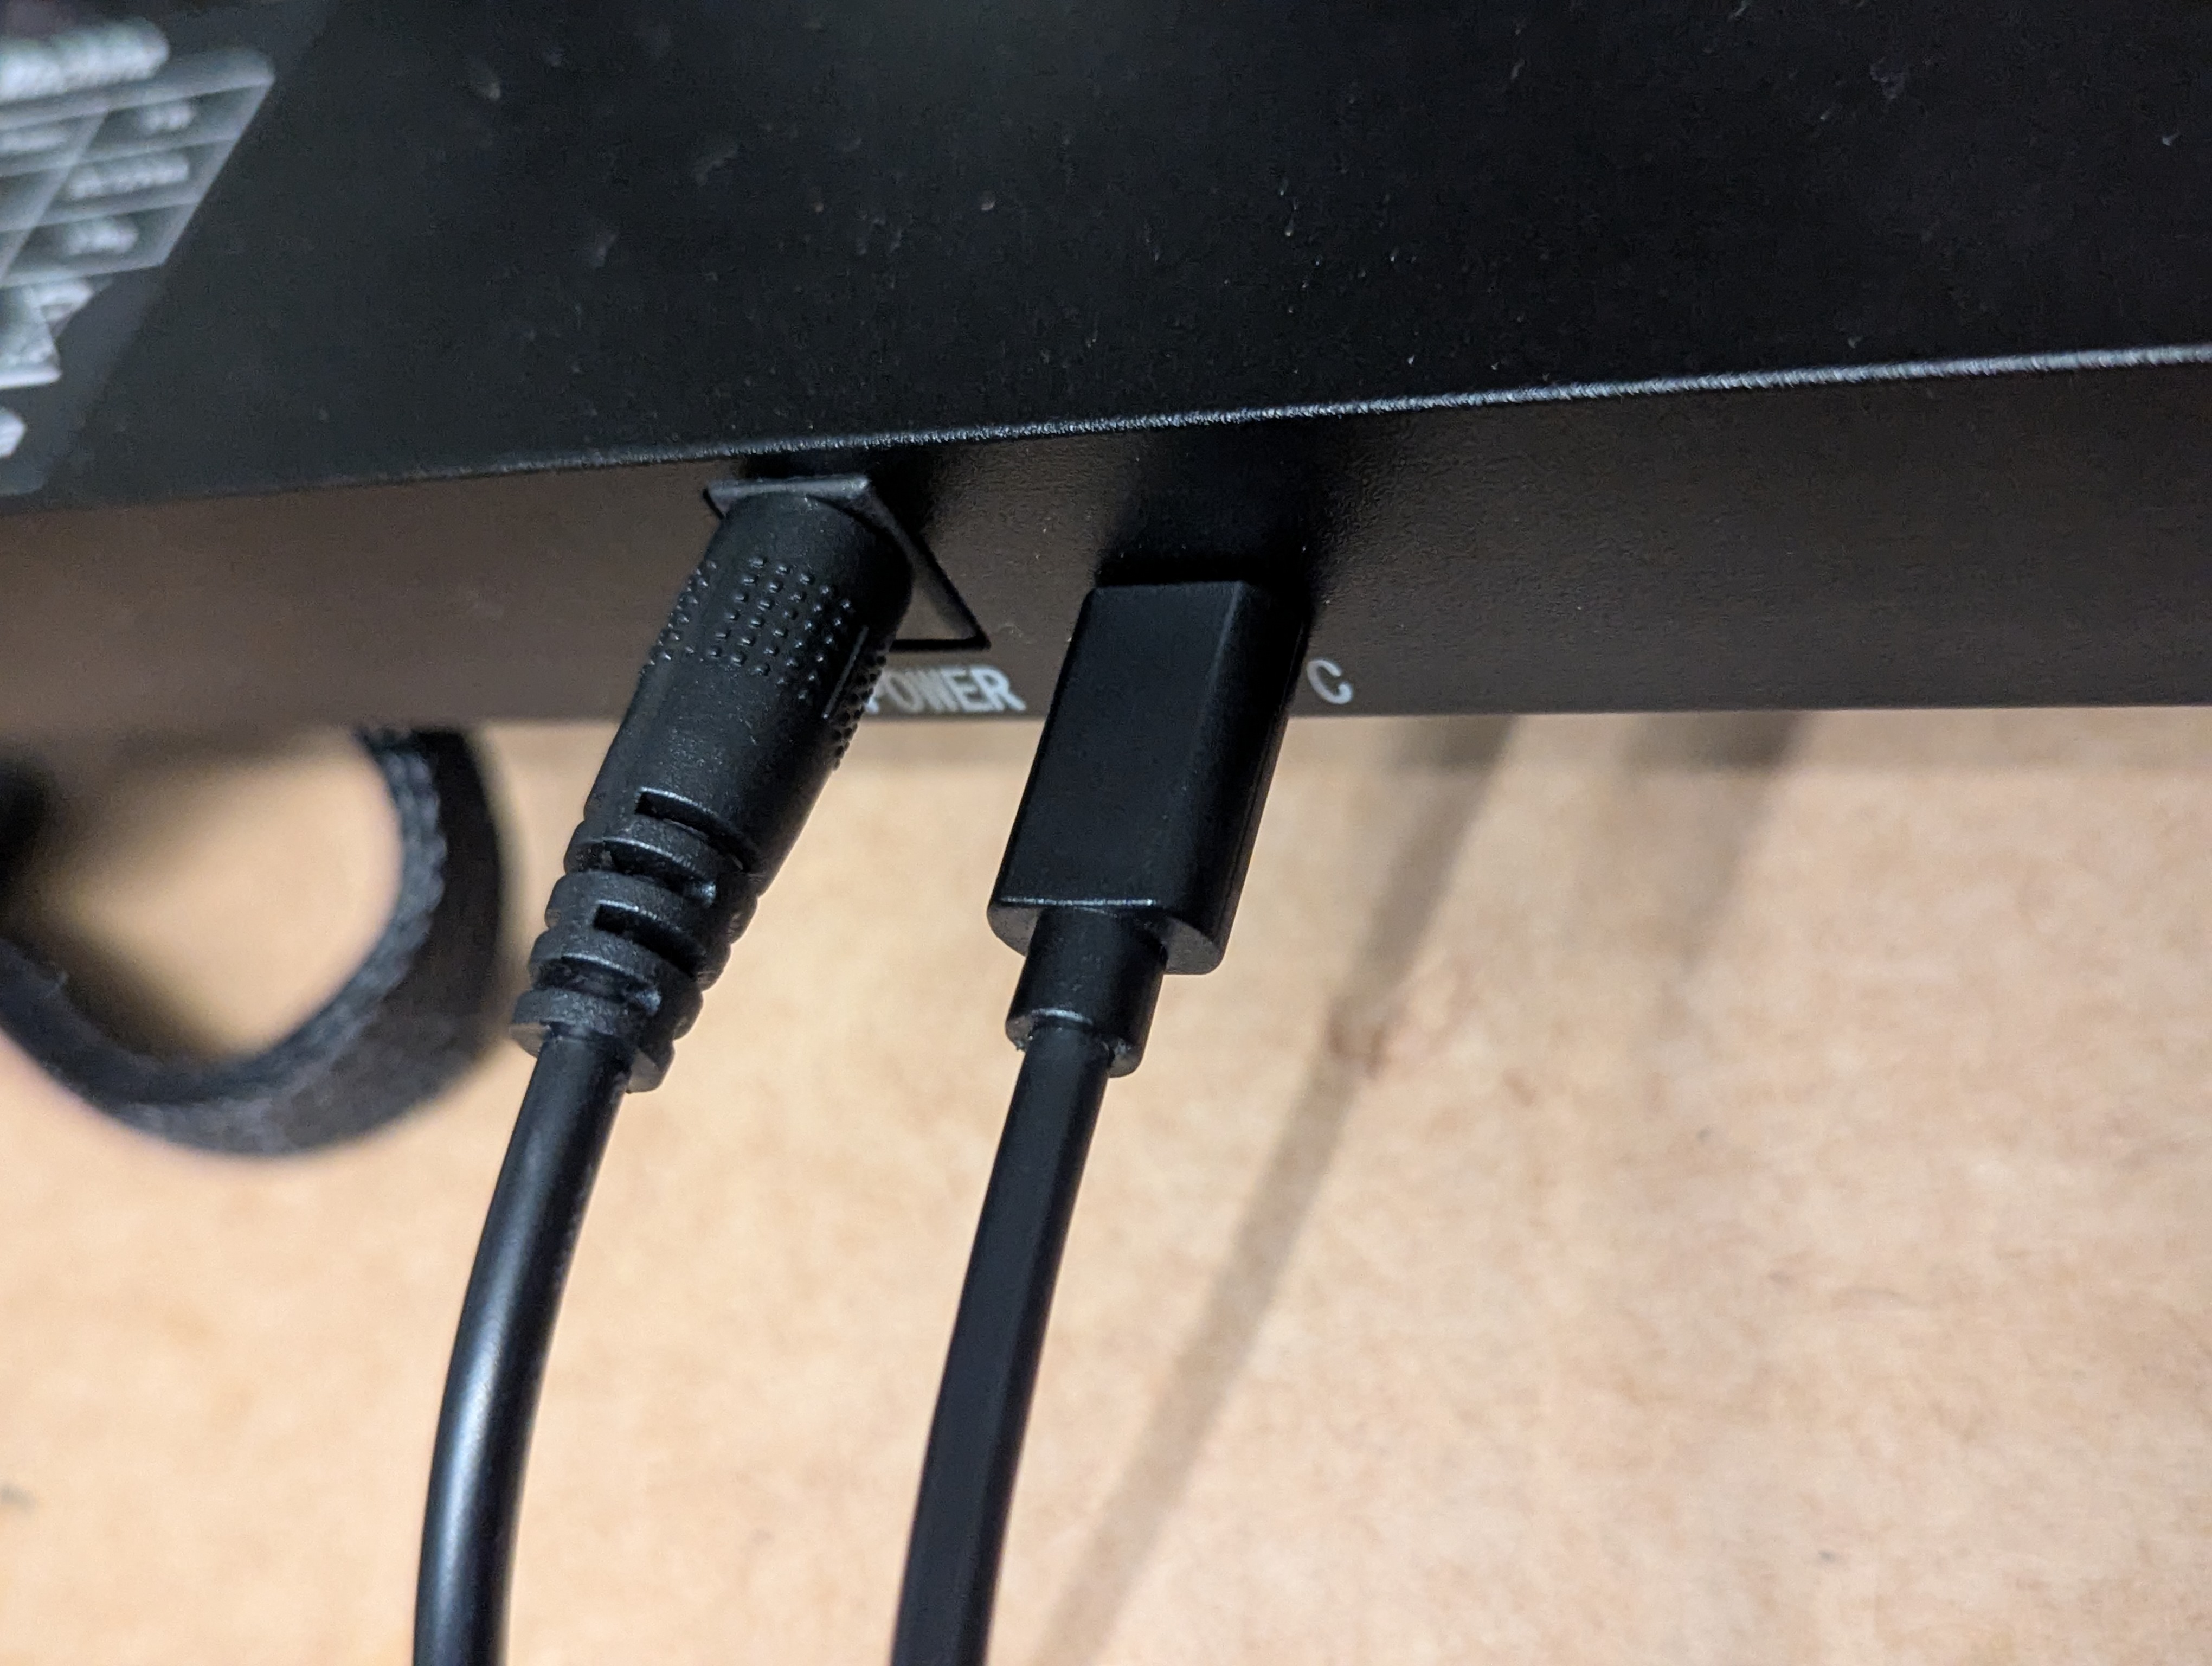
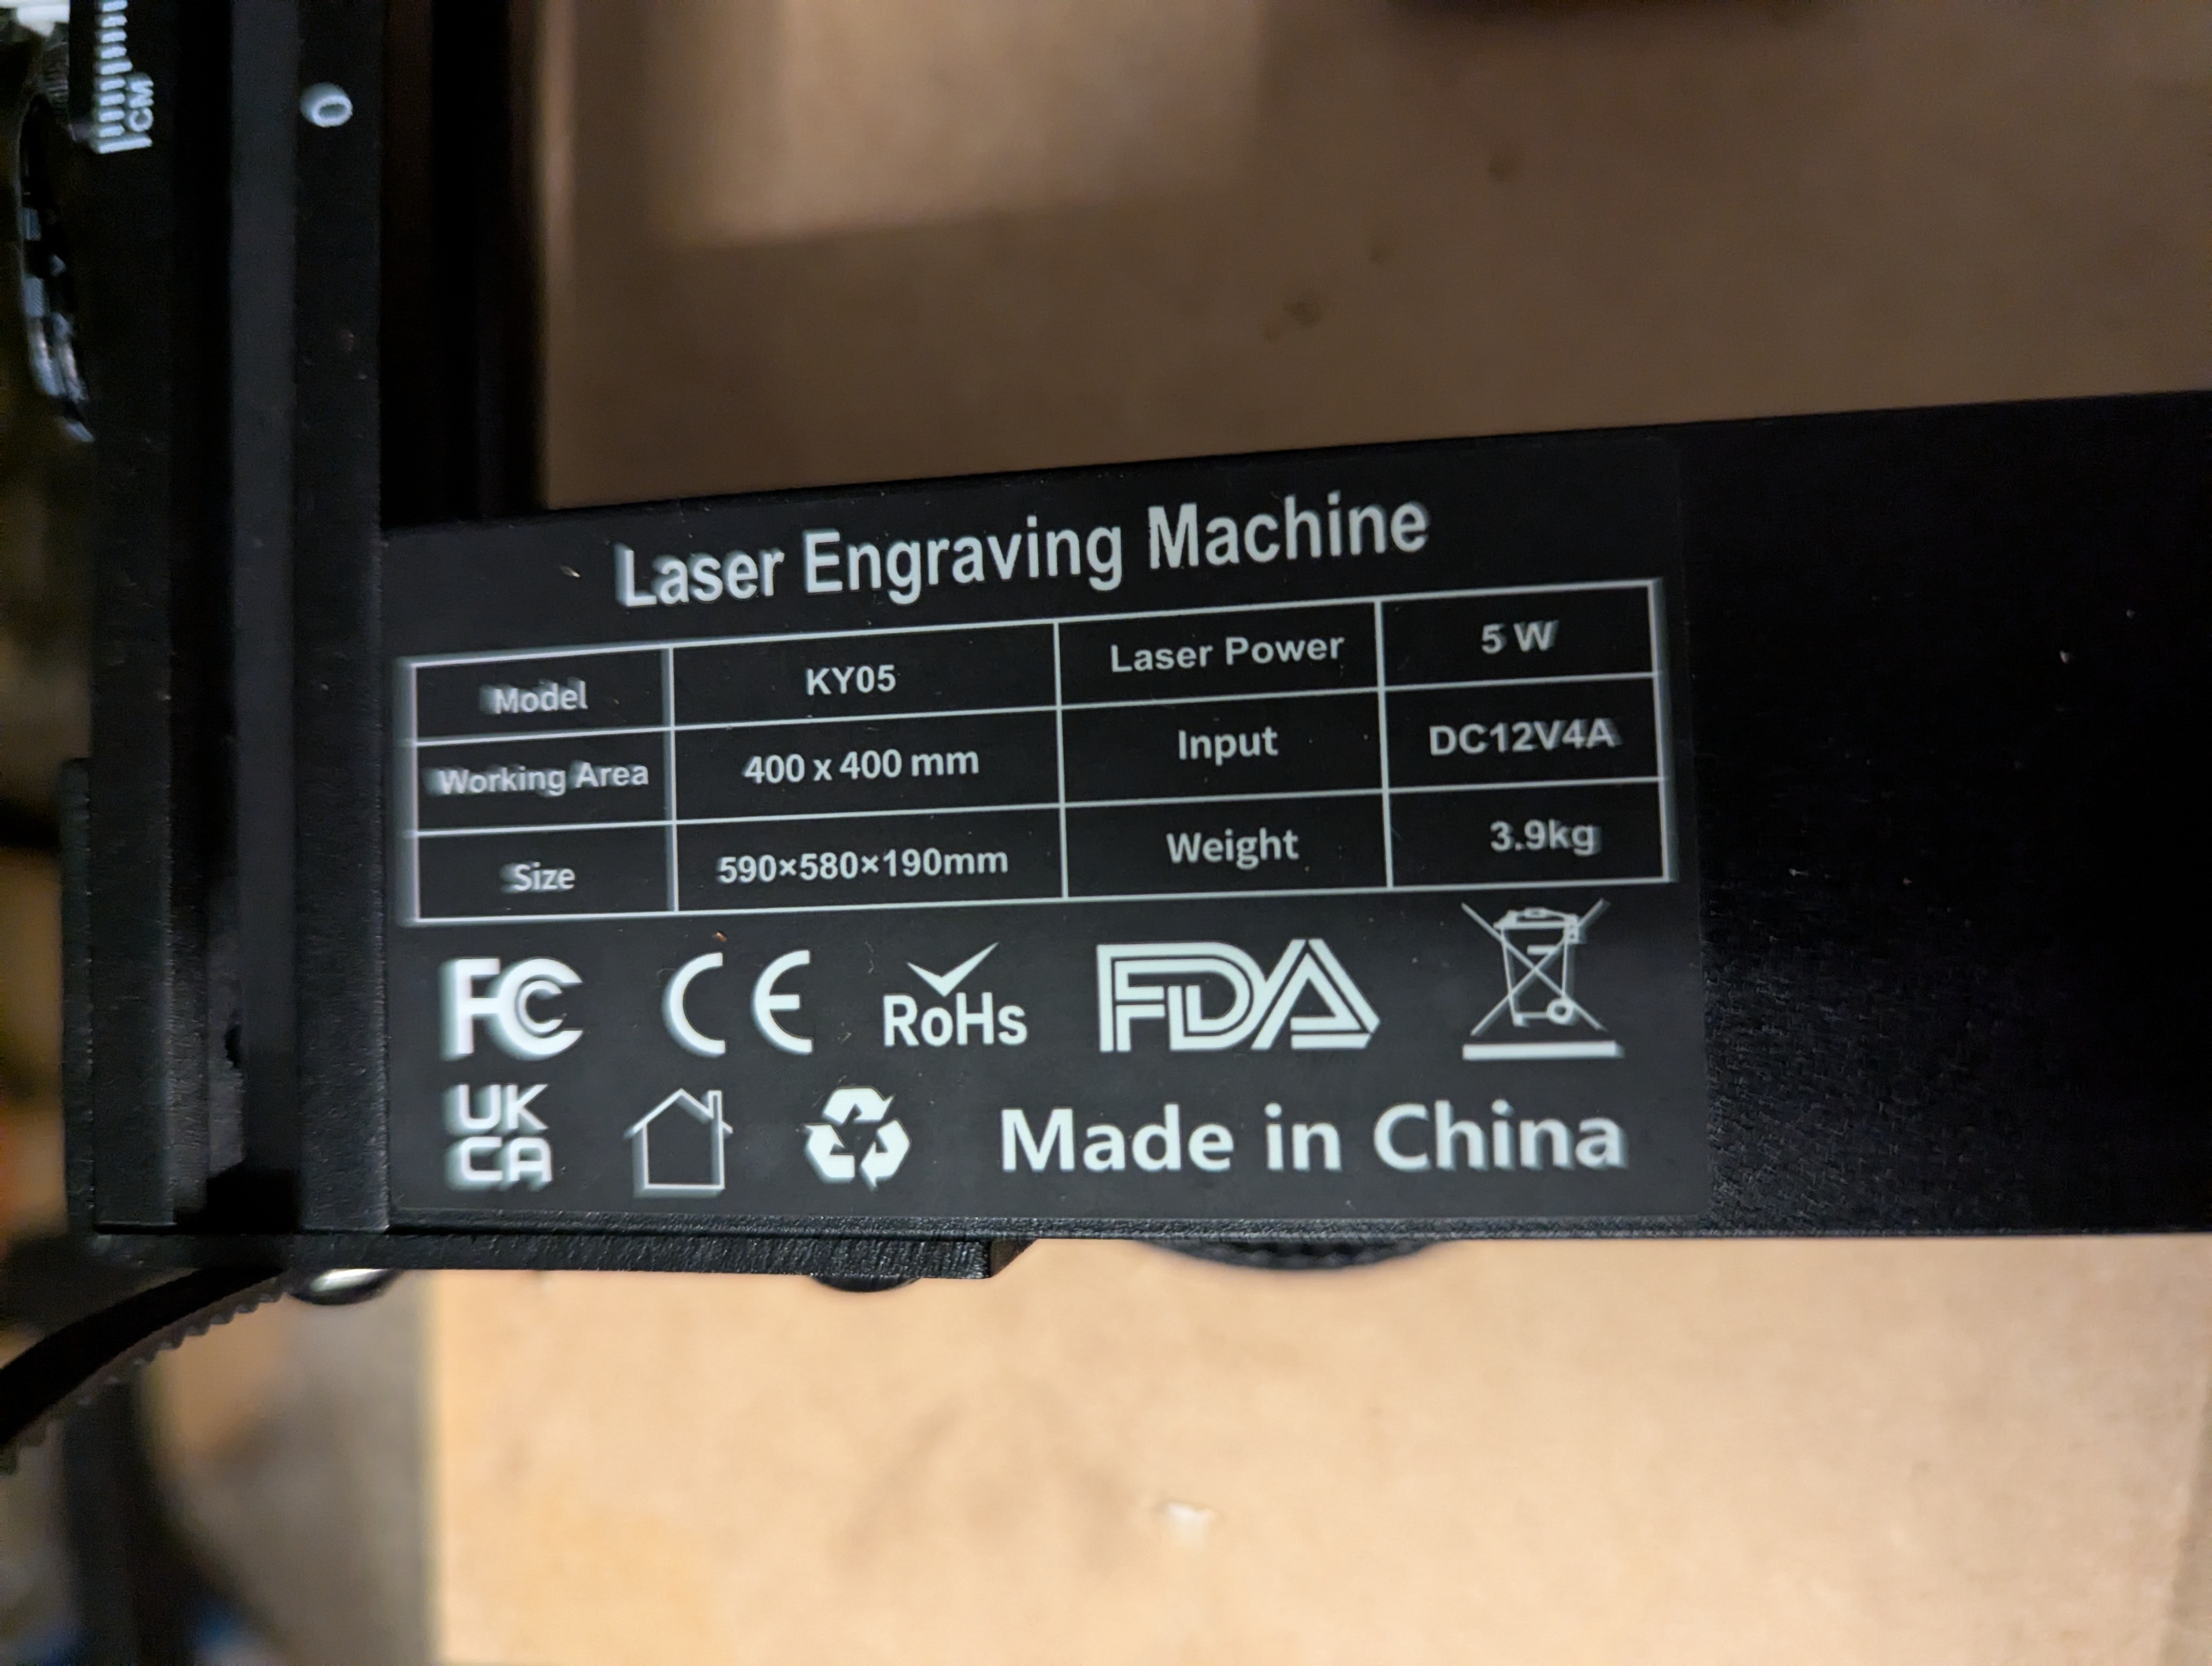
If you are using a laptop, ensure it is plugged in and charging.
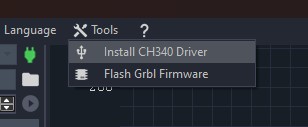
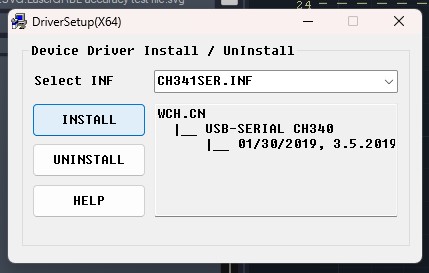
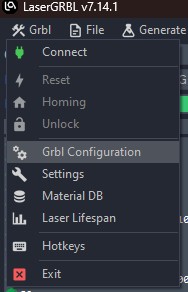


I ran into an issue where the machine was stopping due to tilt angle and shock and movement errors being thrown. For hours I troubleshot both LaserGRBL and the machine, with no success. On a whim, I modified setting $53 in LaserGRBL, which is proprietary to Roomark's Laser Engraver. The value must be a multiple of 5, and 55 or more. It relates to its detection of tilt angle.
For more common issues, visit the LaserGRBL FAQ.
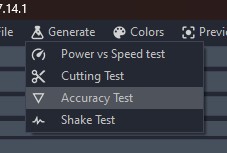
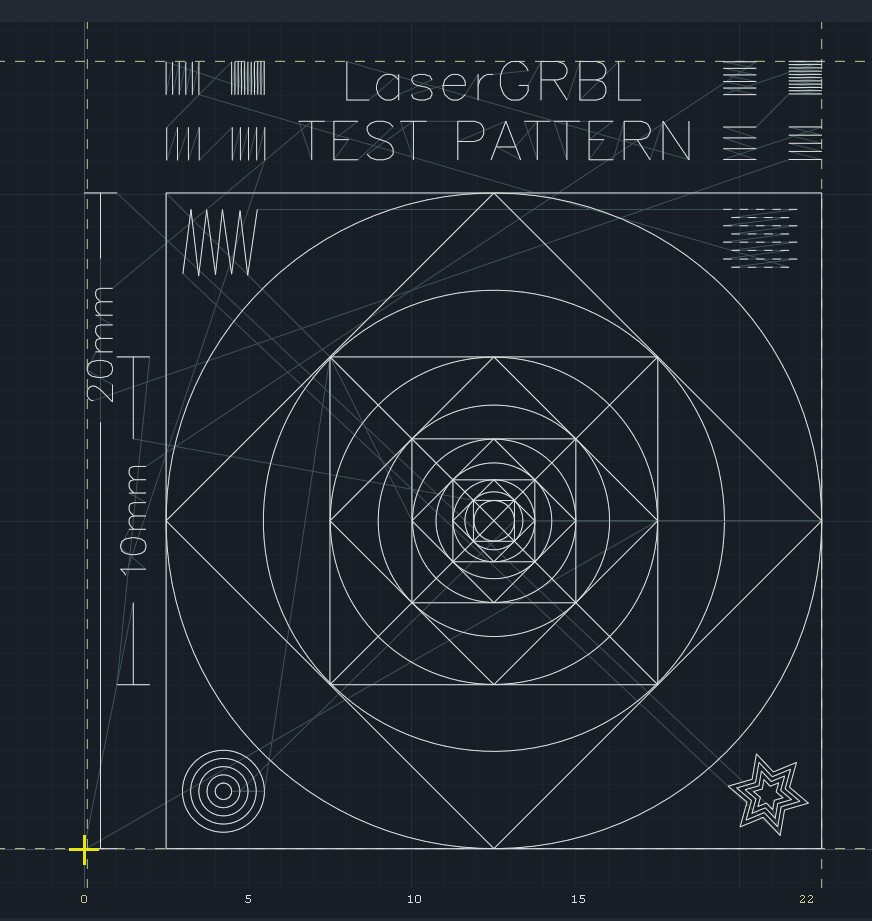
LaserGRBL provides an .svg file that can be used to test the accuracy of the engraver. This is very useful because it can give some insight into the machine's calibration.
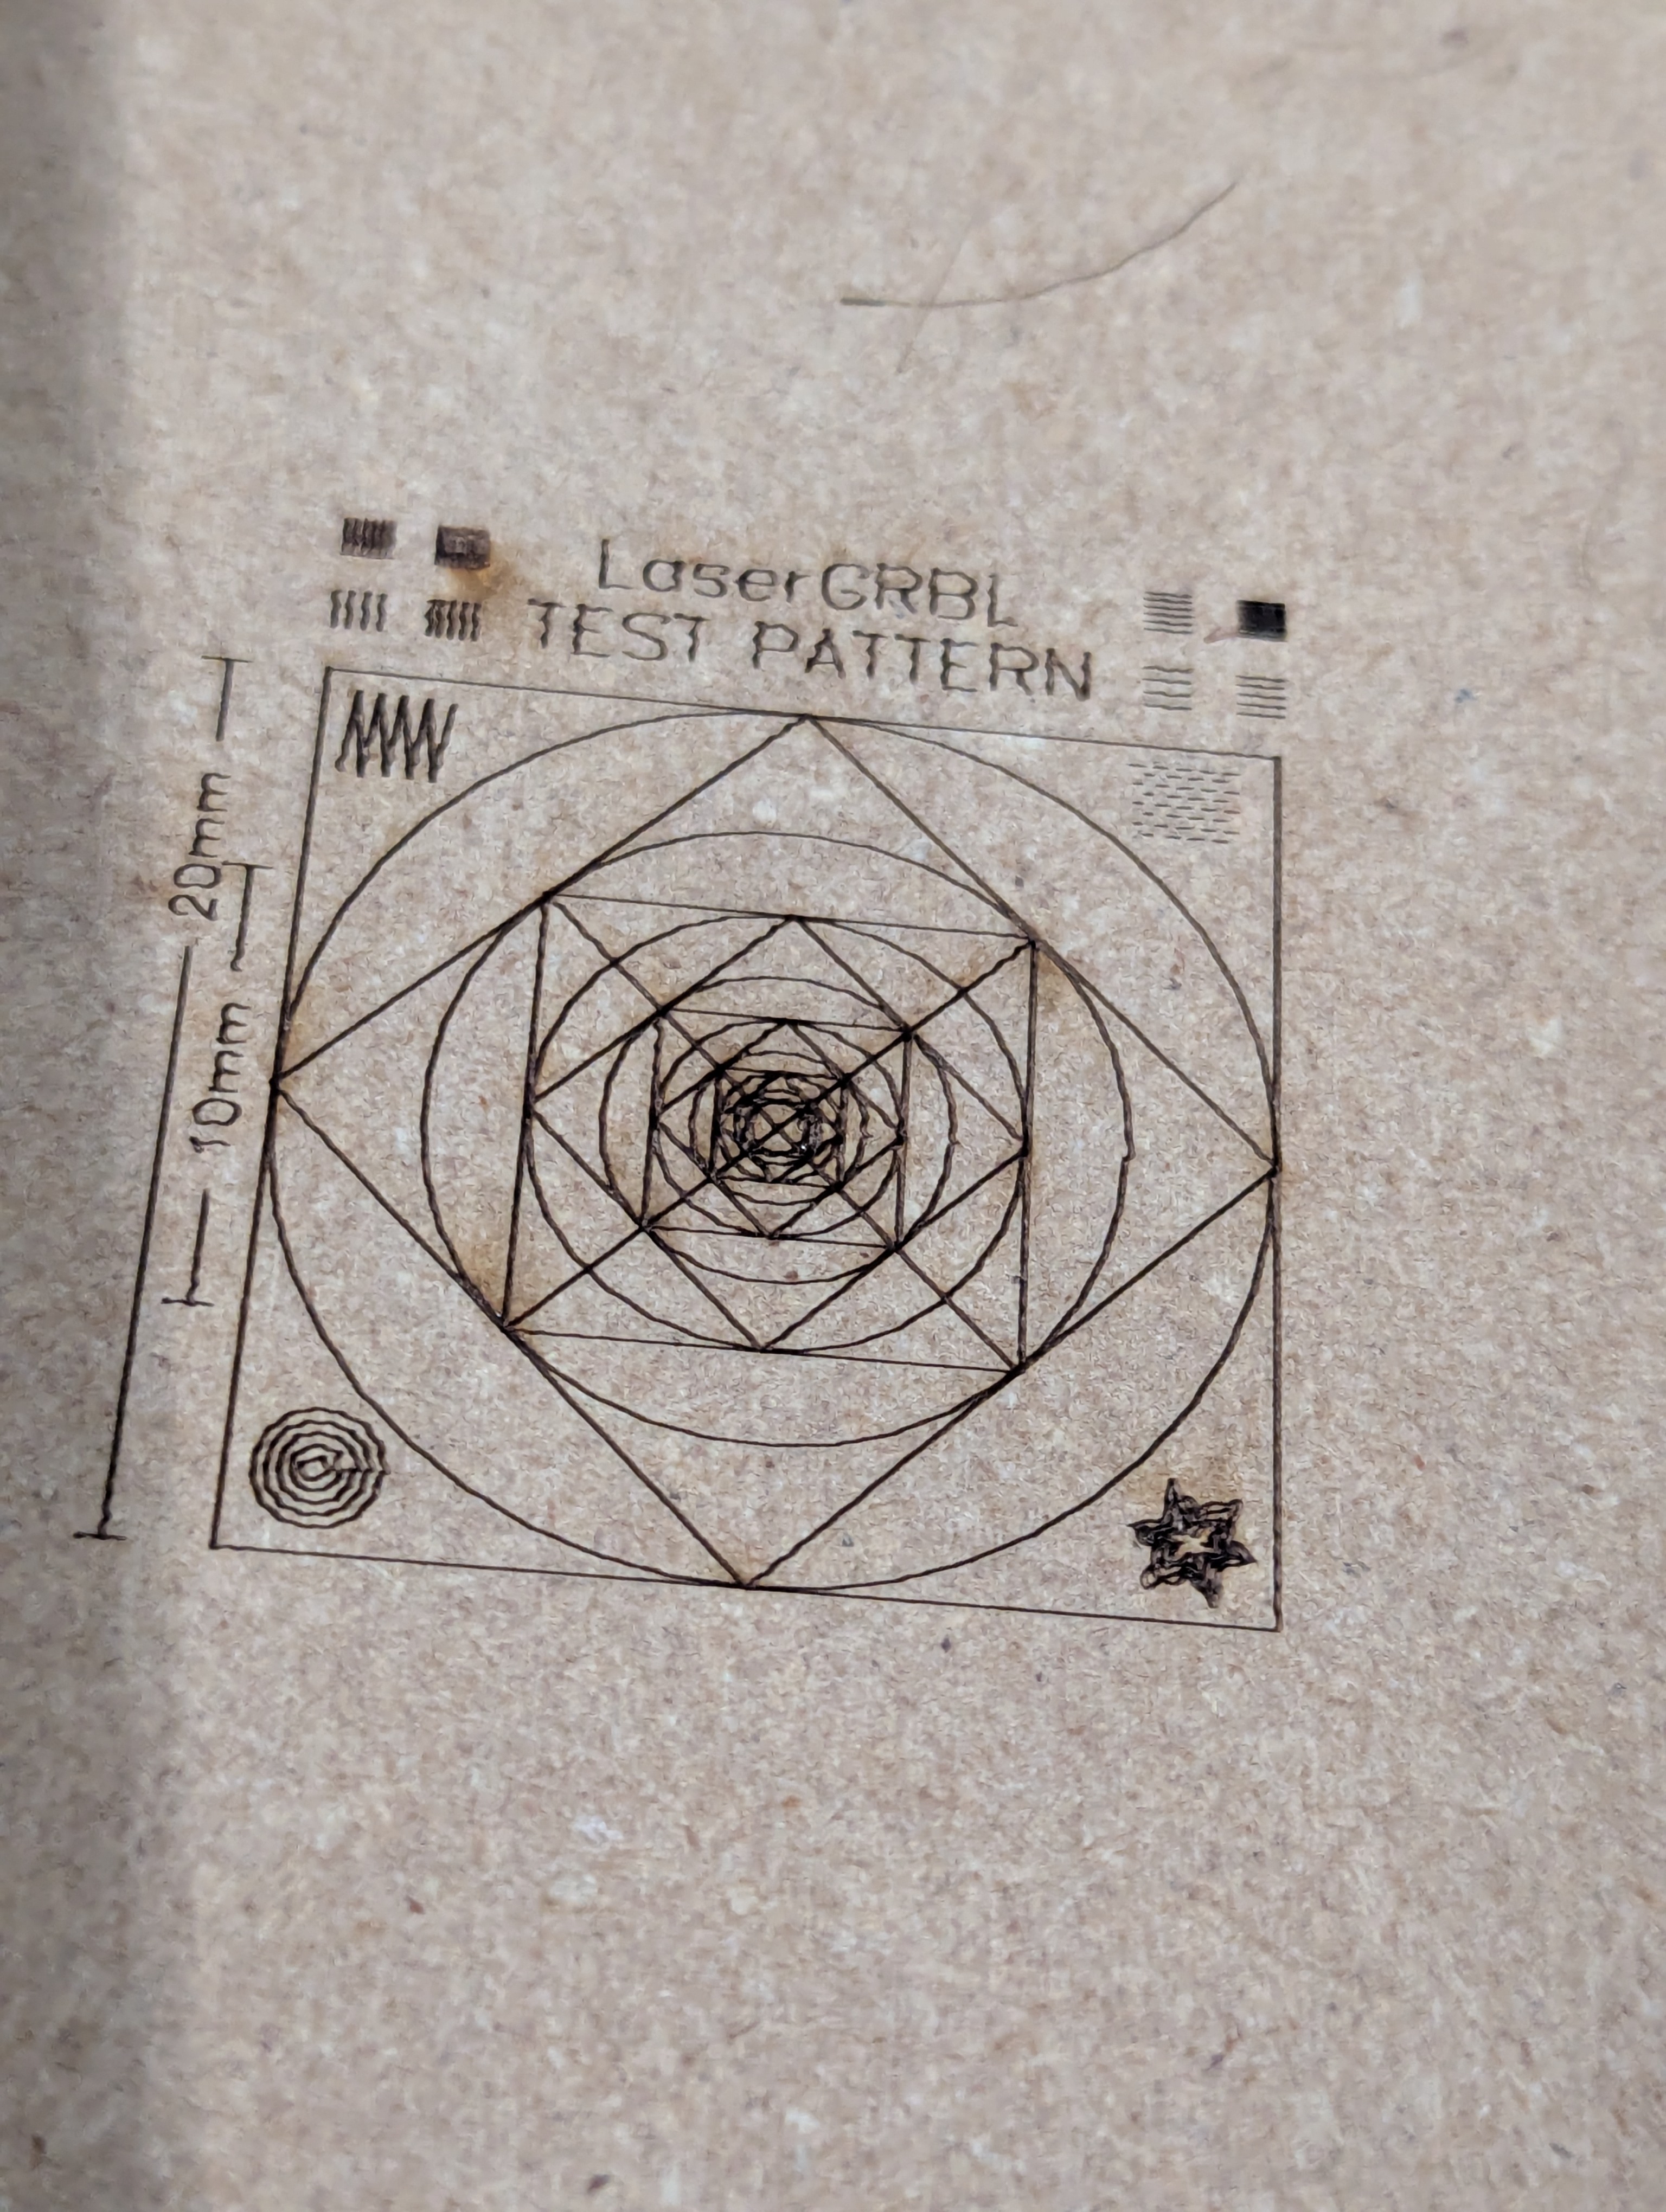
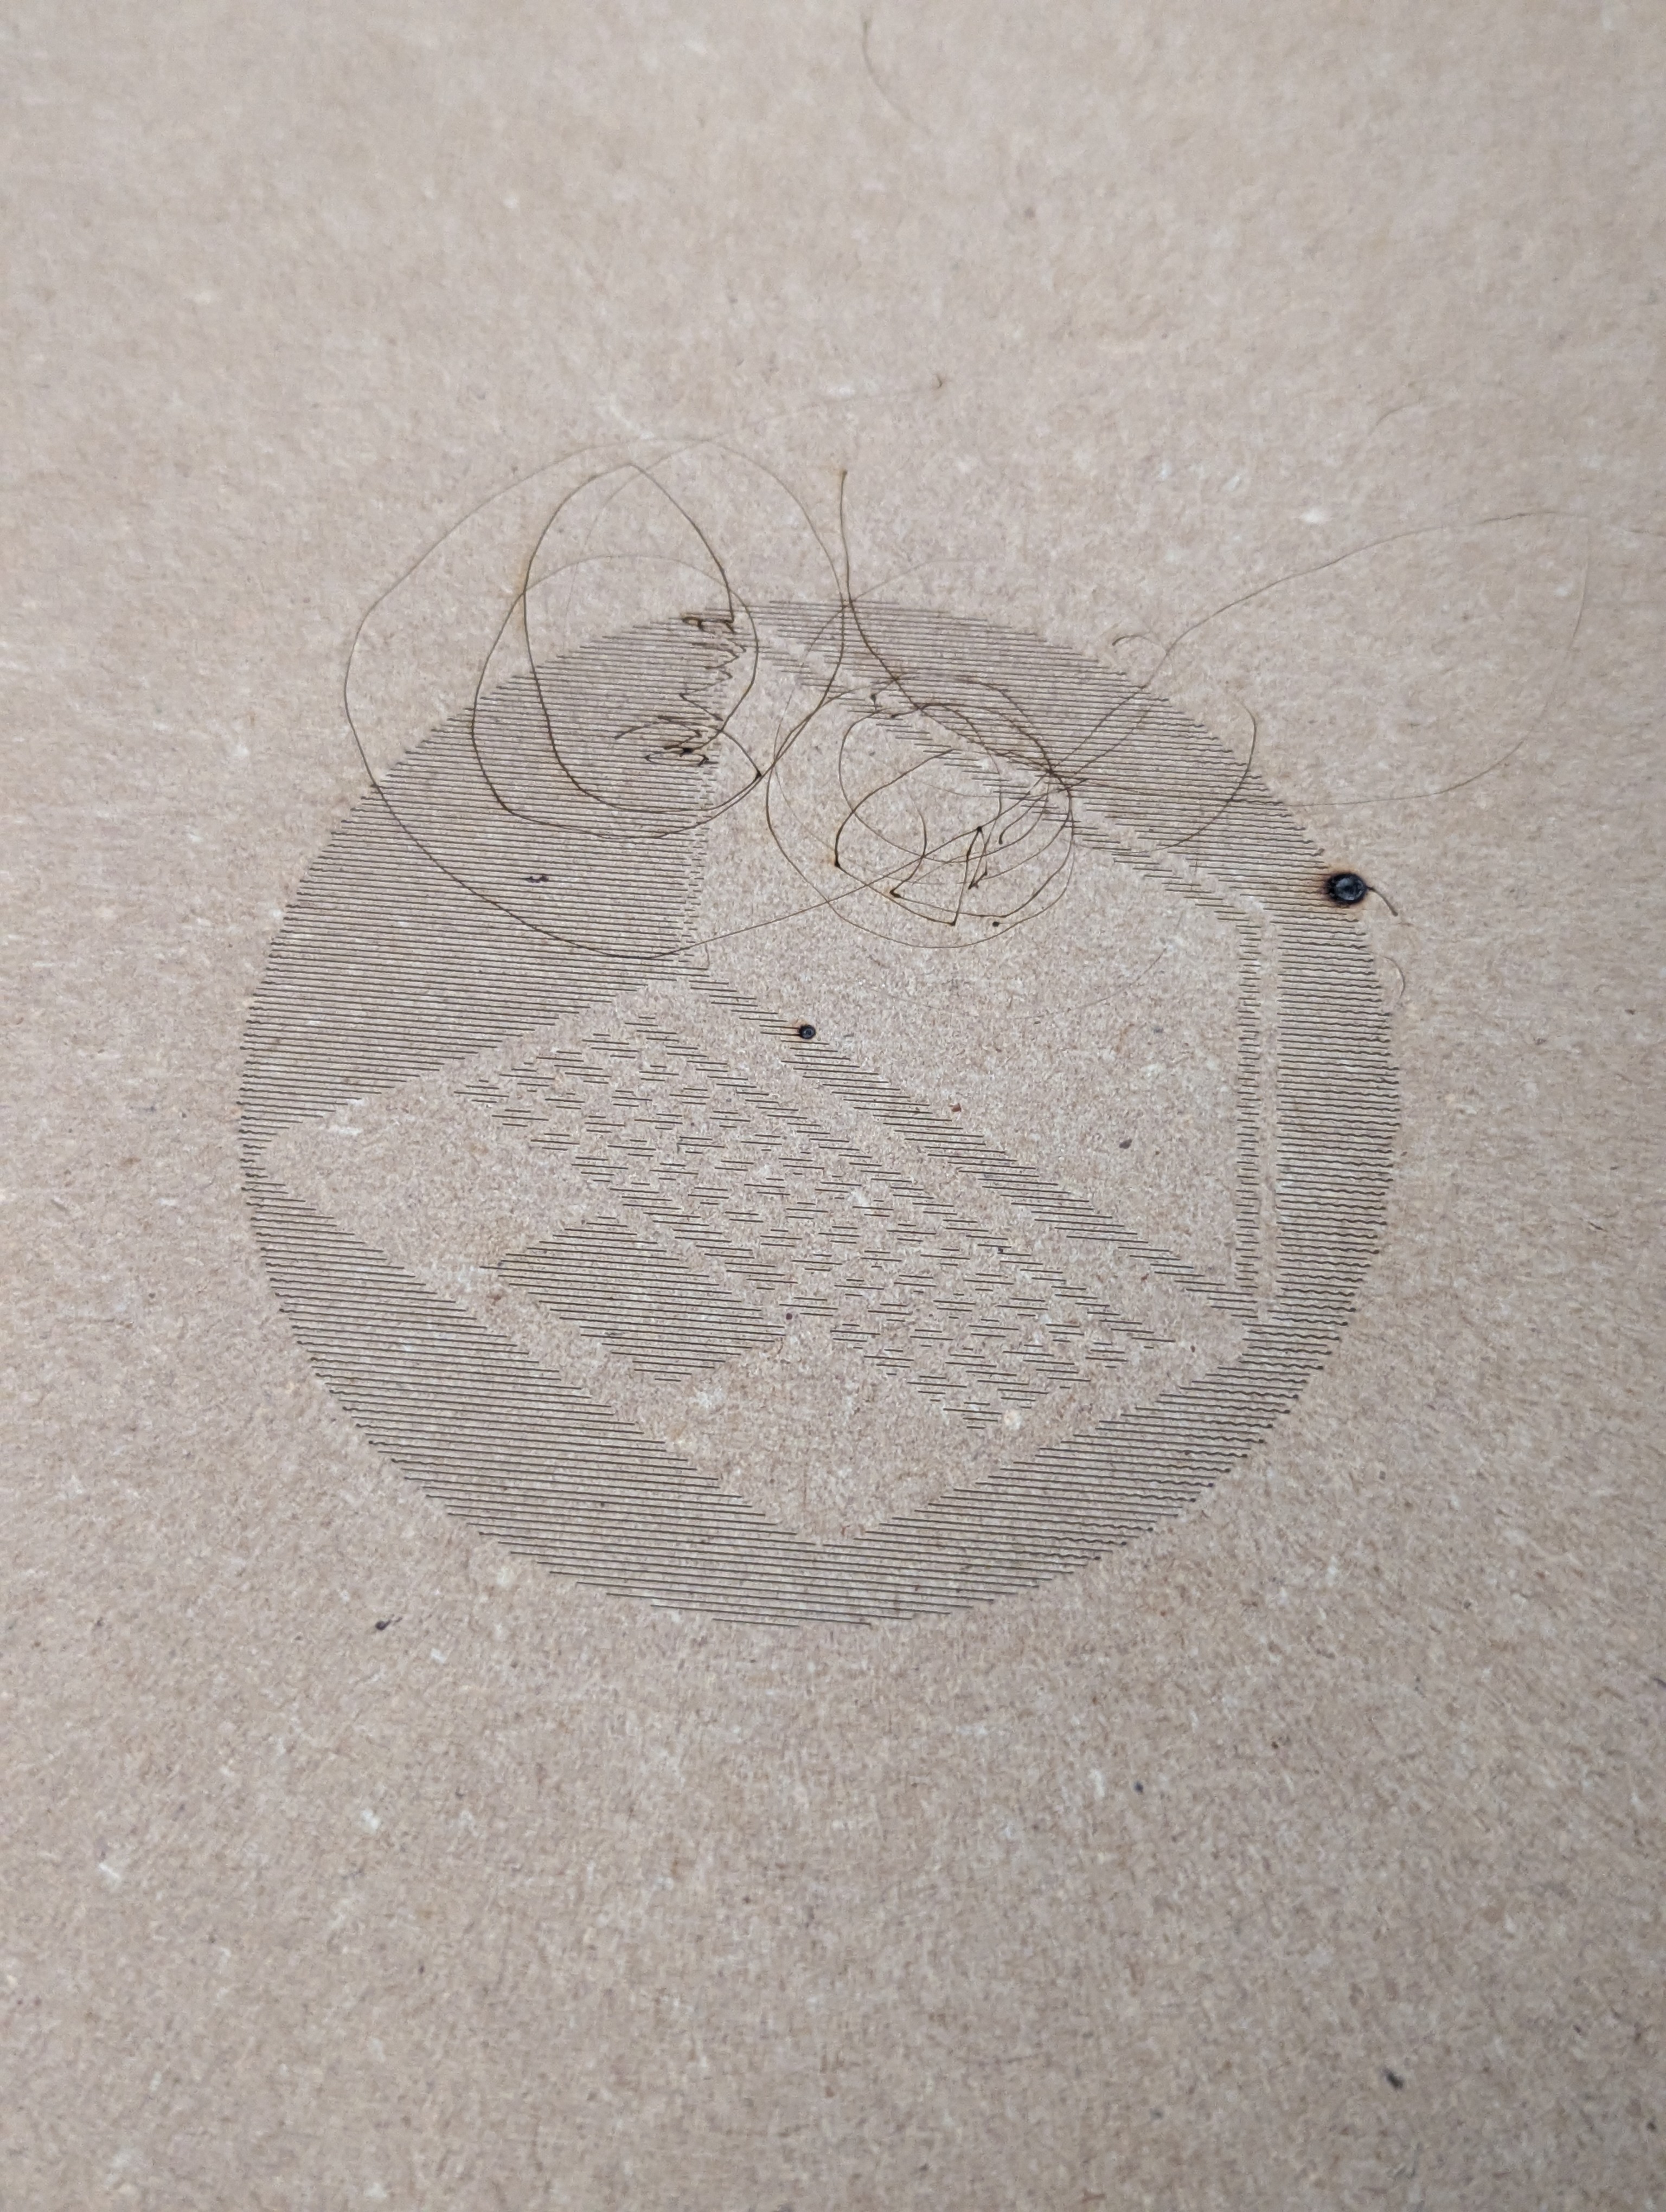
Overall, it was a very fun experience, though frustrating at times due to Roomark's lack of documentation on their product! The setup took several hours because I did not know how to fix the tilt angle and shock and movement detection triggers.
I will continue experimenting with Roomark's Laser Engraving Machine to create cool art pieces, and perhaps even find new uses for laser engraving.

04/09/2025
Minecraft > SMP > Valley

03/15/2025
Miscellaneous > Laser Engravings

02/13/2022
Videos > CS120B

04/03/2025
Minecraft > SMP > Cherry

04/03/2025
Minecraft > SMP > Cherry

04/03/2025
Minecraft > SMP > Cherry

02/18/2022
Videos > CS120B

03/06/2022
Videos > CS120B

01/17/2022
Videos > CS120B

04/06/2025
Minecraft > SMP > Cherry

01/24/2022
Videos > CS120B

04/03/2025
Minecraft > SMP > Cherry